As soon as we moved into this house I started envisioning all the projects I wanted to do. At the top of my list was to add shadow box trim/molding to our formal dining room. We saw it in a few of the houses we toured and I always liked the look of it. Turns out it's really easy to DIY too!
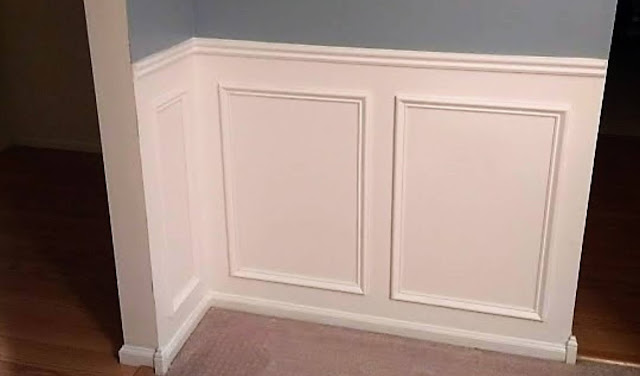
If your room doesn't already have chair rails you will need to add that as well. Our dining room had chair rails already installed so we really only needed to install the shadow boxes. First you'll need trim of your choice (painted whatever color you want). In order to determine how much you need, calculate how big your boxes need to be by measuring your walls and deciding how large you want your boxes to be. Our boxes were 4 inches from the baseboard and 3 inches from the chair rail. They were also about 3 inches apart from each other and 28 inches in height (the width depended on the particular wall since some walls were bigger than others). This enabled us to get nicely spaced boxes on all of our walls.
If your wall doesn't allow you to have equally sized boxes you can do what we did and do two larger in the middle and two smaller on the edges.We also had this super tiny wall area. Yes, we still put boxes there. And I think they look great.
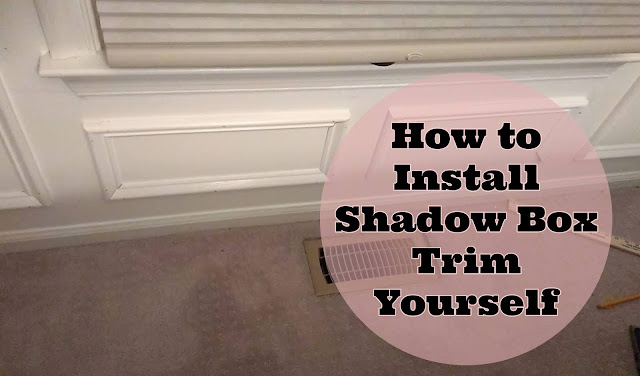
We also have a window in our dining room that presented a slight challenge. We put two shorter boxes under the windowsill and I think it looks great.
We used a power nail gun and brad nails to make it easier. Due to the curve of the trim we didn't want to use a hammer. After we nailed all the trim up we went through with wood filler to cover the brad nails and caulk around the edges to make smooth lines. If you skip this step you'll be stuck with an unfinished looking product like this:


No comments
Post a Comment
Have a thought? I'd love to hear it! Share a comment and let me know what you're thinking.