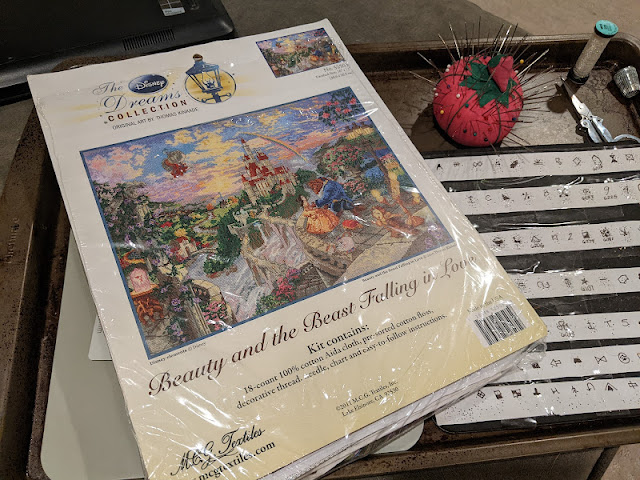
After recently finishing what has been the longest and largest cross stitch project that I have ever tackled, I wanted to share some lessons learned and specific tips for anyone completing large cross stitch projects and specifically anyone working on one of the Thomas Kinkade Disney Dreams patterns.
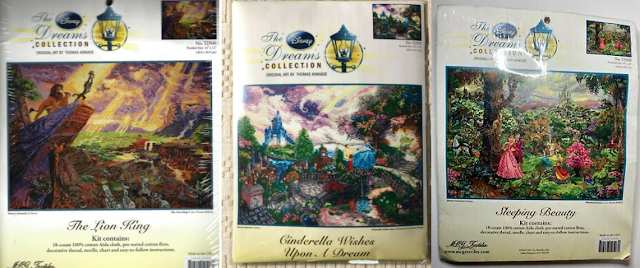
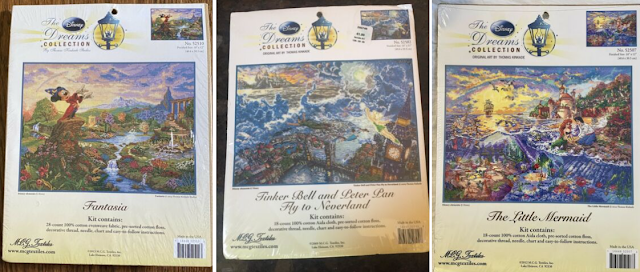
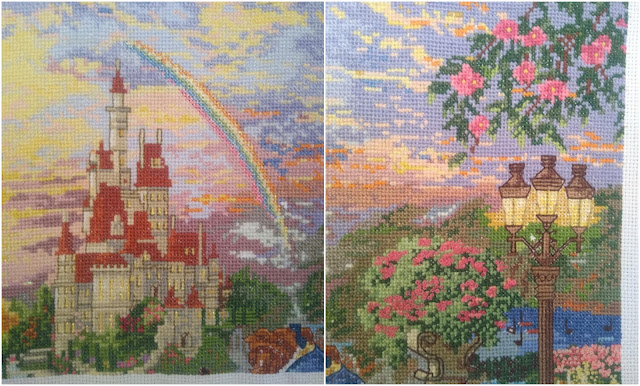
The Disney Dreams was a cross stitch collection of Thomas Kinkade artwork that was produced by MCG Textiles. The overall completed size for each piece is 12x16 inches and the patterns included Disney favorites such as Lion King, Cinderella, Sleeping Beauty, The Little Mermaid, etc. Oddly enough, no Aladdin though which I think is such a bummer.
The kits are no longer in print and have become quite the collectible items -- they are always listed on Ebay by sellers asking $200+!
The kits came with the chart, floss, and 18-count Aida fabric so it was a self-contained kit with everything you need. However, the kits were plagued with improperly sized Aida, confusing symbols/incomplete charts, and mismatched floss so it makes sense MCG Textiles failed. I've heard rumors that another cross stitch designer Anyway, let's get into some tips for tacking the Disney Dreams!1. Prepare, Prepare, Prepare!
If you have one of the authentic MCG Textiles kits then go through your floss to make sure they are correct to the color names. I found one of my off-white and yellow floss were mixed together in my Beauty and the Beast kit. Easy enough to fix but I'm glad I caught it before I started stitching!
If you are kitting up your own chart, just make sure to double and triple check your colors against the DMC chart. I recommend DMC floss because it's readily available and in my opinion the gold standard of floss.
This is a good online floss conversion chart I like to use. The MCG Textiles kits used Candamar floss so I just use the Candamar floss color and convert to DMC.
*Sometimes 2+ Candamar floss colors will convert to the same DMC colors. I don't think this will overall impact your finished piece so I wouldn't worry about it.
2. Organize
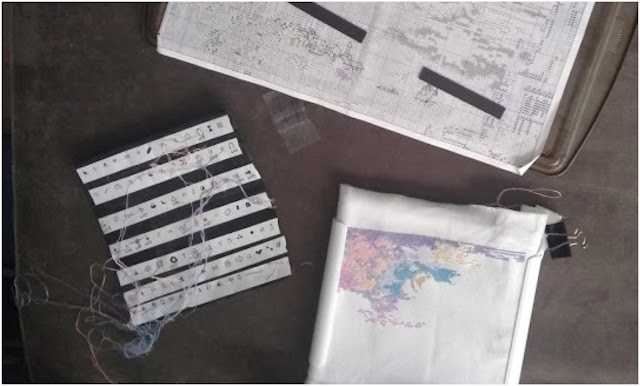
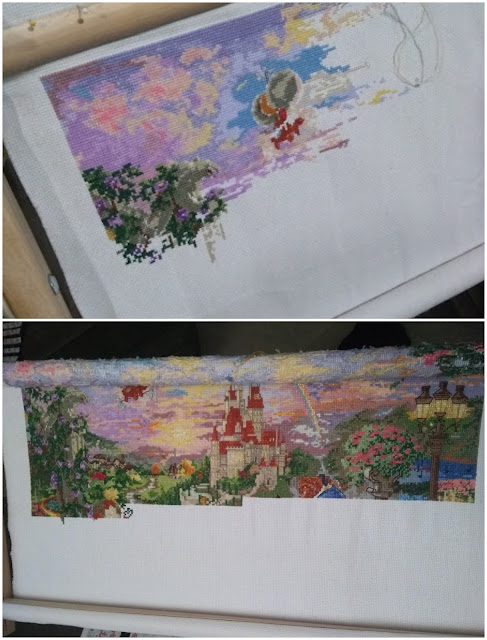
I had a system for my cross stitch but it evolved as I worked through the pattern. I initially started with the original pattern secured with magnets to an upside down baking sheet. As I worked through the pattern I decided I wanted to take smaller chunks and made photocopies of the patterns so I could mark the pattern up and not get lost. I also didn't want to risk ruining the original pattern or folding it too many times and wearing it out.
I also made a floss organizer using a ton of needles and an upside down mouse pad.
I just drew all the symbols on printer paper and taped it to the mouse pad. Then I would stab a needle in as I needed throughout the project. By the end, I had a needle for every single color. Just be careful about tangles!
Seriously, I used ALLLLL the needles and then some. I didn't even realize how many there were until I had to de-floss them at the very end. 3. Patience
These projects are BIG. Don't get too in your head about finishing them on any specific timeframe. One stitch at a time and you will get through it just fine. You can either pick a color and stitch all you can with that color before switching to another color OR you could try to tackle areas box by box based on the pattern. Throughout my project I did both. Can you tell?
Doing it by box was definitely neater (and kept me from miscounting because it self-corrected each square) but there's something so satisfying about seeing a piece come together by stitching color by color. Do what works best for you!
Tidbit tips:
1. Use working copies of the chart. You can highlight where you have completed and it helps keep you from getting lost....or *gasp* miscounting.
2. Once I got halfway through the piece I started stitching more box by box instead of by color. Some people wouldn't recommend you do that but I didn't want to risk mis-counting and catching it too late. By completing one box at a time I know that I was still on track. And with projects so large I definitely did not want to have to rip out a ton of stitches.
3. Use a stand. I would not suggest stitching these in hand or even on a small Q snap frame. These projects take a lot of time and the grime from your hands would definitely get onto the fabric. I liked this stand because it let me see half of the project at a time. I could see the top half and then I could see the bottom half. I wasn't constantly readjusting the frame. This project spent years on the frame and I didn't notice any horrible creasing when I was done.
4. Multiple needles are your friend. Keep one needle threaded with each color so you can easily and quickly swap out floss. If you are working in an area where certain colors are very common I would actually create 2-3 needles of that one color at a time so I didn't have to keep stopping to find the color.
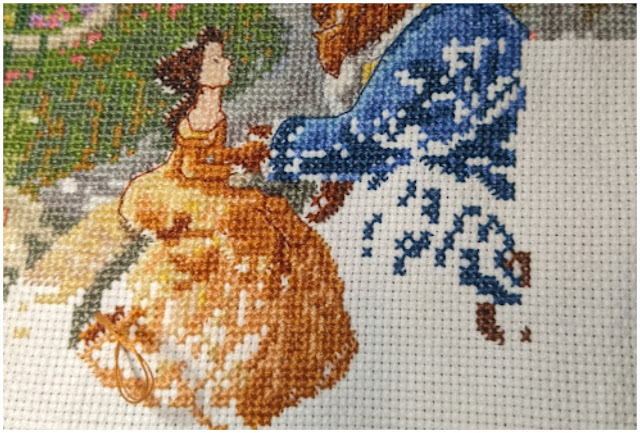
5. Use landmark colors. If you are in an area where a lot of the floss will be similar colors and it will be easy to get confused and miscount, find a part of the chart with a distinct color and stitch those to use as a landmark. For example, when I was working on the beast part of the pattern I knew there was going to be a lot of various blue floss so I found a distinct section (the dark brown) and stitched those. I could use them for easy reference.
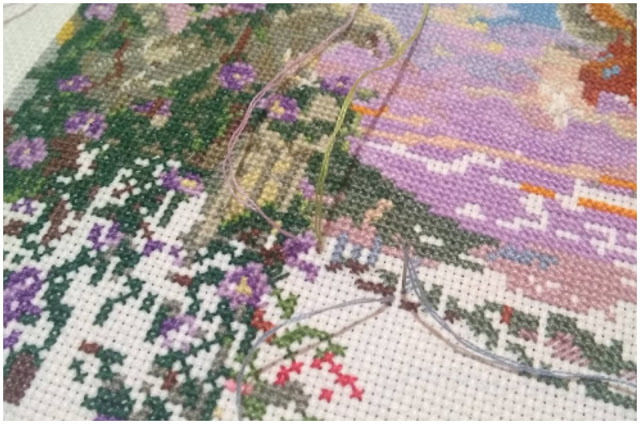
6. Backstitch and French knot as you go. When I did the first quarter (the top left quadrant of the piece) I waited until the end to do all the backstitching and knots. BIG MISTAKE. It was so hard to figure out where I needed to be. After that I did all the backstitching and French knots when I would get done with the area. 7. Take progress photos! I cannot believe how few progress photos I have of this project. I will definitely try to take more when I stitch Cinderella!
Things I would not recommend (but if they work for you by all means do it!)
1. Multiple needles IN the project at once. While I highly recommend having many needles ready to go at one time to switch out at your convenience, I do not recommend having multiple active needles in the project all at one time. #1 I pricked my hand multiple times when I tried this. #2 I would forget which colors I had going at one time.
Have you ever tackled a large cross stitch project?
What's your favorite Disney movie?
What is your favorite craft to do in your free time?


No comments
Post a Comment
Have a thought? I'd love to hear it! Share a comment and let me know what you're thinking.